Have you ever wondered why your crochet project didn’t turn out as expected? Sometimes, the culprit is simply a misunderstood and underappreciated element in crochet – the turning chain. Welcome to a deep dive into understanding how this little aspect can make or break your crocheting experience. In this article, we’re going to unravel the mysteries of the turning chain, explain its essential role, and discuss how to perfect it for your next masterpiece.
In This Post
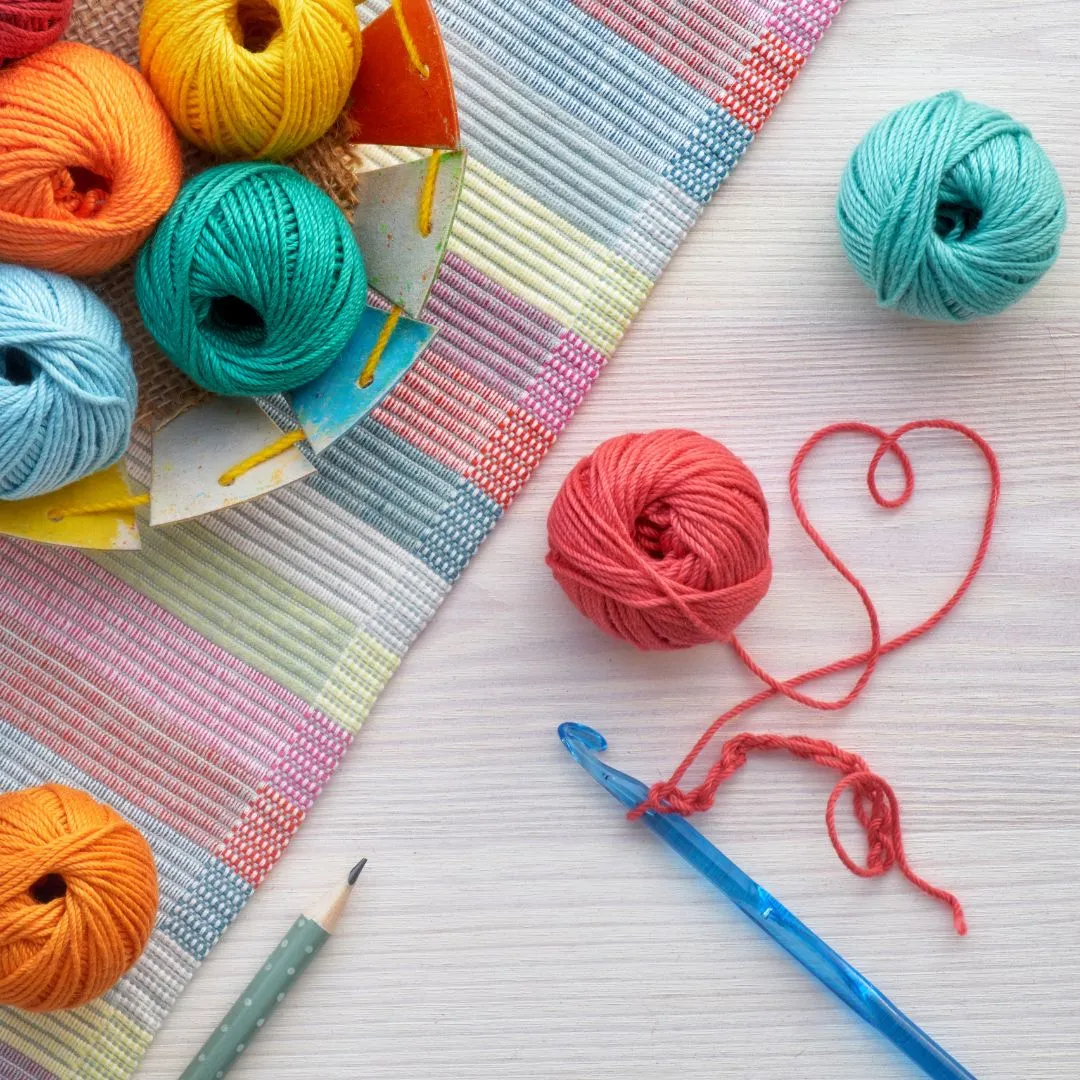
The Basics of a Turning Chain
The turning chain is a fundamental part of crochet that often surprises beginners with its importance. So, what exactly is it?
What is a Turning Chain?
A turning chain is a series of chain stitches added to the beginning of a new row in a crochet project. It helps to bring the yarn up to the height required for the next row.
The number of chains is generally determined by the type of stitch you’ll be working on:
- Single crochet stitch (sc) usually requires 1 chain.
- Half double crochet stitch (hdc) typically involves 2 chains.
- Double crochet stitch (dc) often needs 3 chains.
- Treble crochet stitch (tr): The turning chain is typically 4 chains.
- Double treble crochet stitch (dtr): The turning chain is typically 5 chains.
“The turning chain is like a hinge, marking the transition from one row to the next.”
Why is it Important?
The turning chain not only sets the height of the next row but also affects the overall look and firmness of the edges. A well-measured turning chain can prevent unwanted gaps or a leaning fabric.
How To Make a Perfect Turning Chain
Mastering the art of the turning chain can elevate your projects significantly. Here are some steps and tips to perfect it.
Ensuring the Right Height
- Know Your Stitch: Identify the stitch for the upcoming row to determine the correct number of chains.
- Consistent Tension: Maintain even tension as you create the turning chain to ensure uniform height and neat edges.
Practicing the Setup
- Begin each row with consistent loops: the loop should be snug around the hook, but not too tight.
- Always insert the hook into the correct loop from the previous row to avoid uneven edges.
Pro Tip: Use stitch markers to keep track of your turning chains—especially helpful when working large or complex projects.
Common Mistakes and How to Avoid Them
- Too Tight or Loose Chains: Remember that your turning chain should match the tension of your stitches. Practice will help./li>
- Skipping or Adding Chains: Count carefully with each new row to maintain the width of your project.
Troubleshooting Turning Chain Challenges
Despite your best efforts, things might go awry occasionally. Here’s how to troubleshoot common turning chain issues.
Wonky Edges and Skewed Patterns
- If the edges seem to sway or your pattern doesn’t align, revisit your turning chains. Inconsistent tension is often the culprit.
- Double-check your chain counts at the start of each row.
Managing Uneven Tension
- Practice makes perfect. Spend some time just working on chains to improve tension consistency.
- Relax and enjoy the process. Tension issues often arise from gripping the yarn or hook too tightly.
Conclusion
Understanding and mastering the turning chain can transform your crochet projects, enhancing their durability and appearance. By learning how to measure, practice, and troubleshoot your turning chains, you’ll craft pieces that are not only enjoyable to create but also beautiful to behold.
In the end, the key is balance—between tension, stitch height, and patience. So, grab your crochet hook, practice those turning chains, and watch your projects shine with newfound perfection.
“Remember, every masterpiece begins with a single stitch. Give attention to your turning chain, and the rest will follow.”
If you liked this article on turning chain, you might be interested in these related crochet stitch tutorials: Basic Stitches
Happy crocheting!
Need help reading crochet patterns. Visit:
Leave a Reply