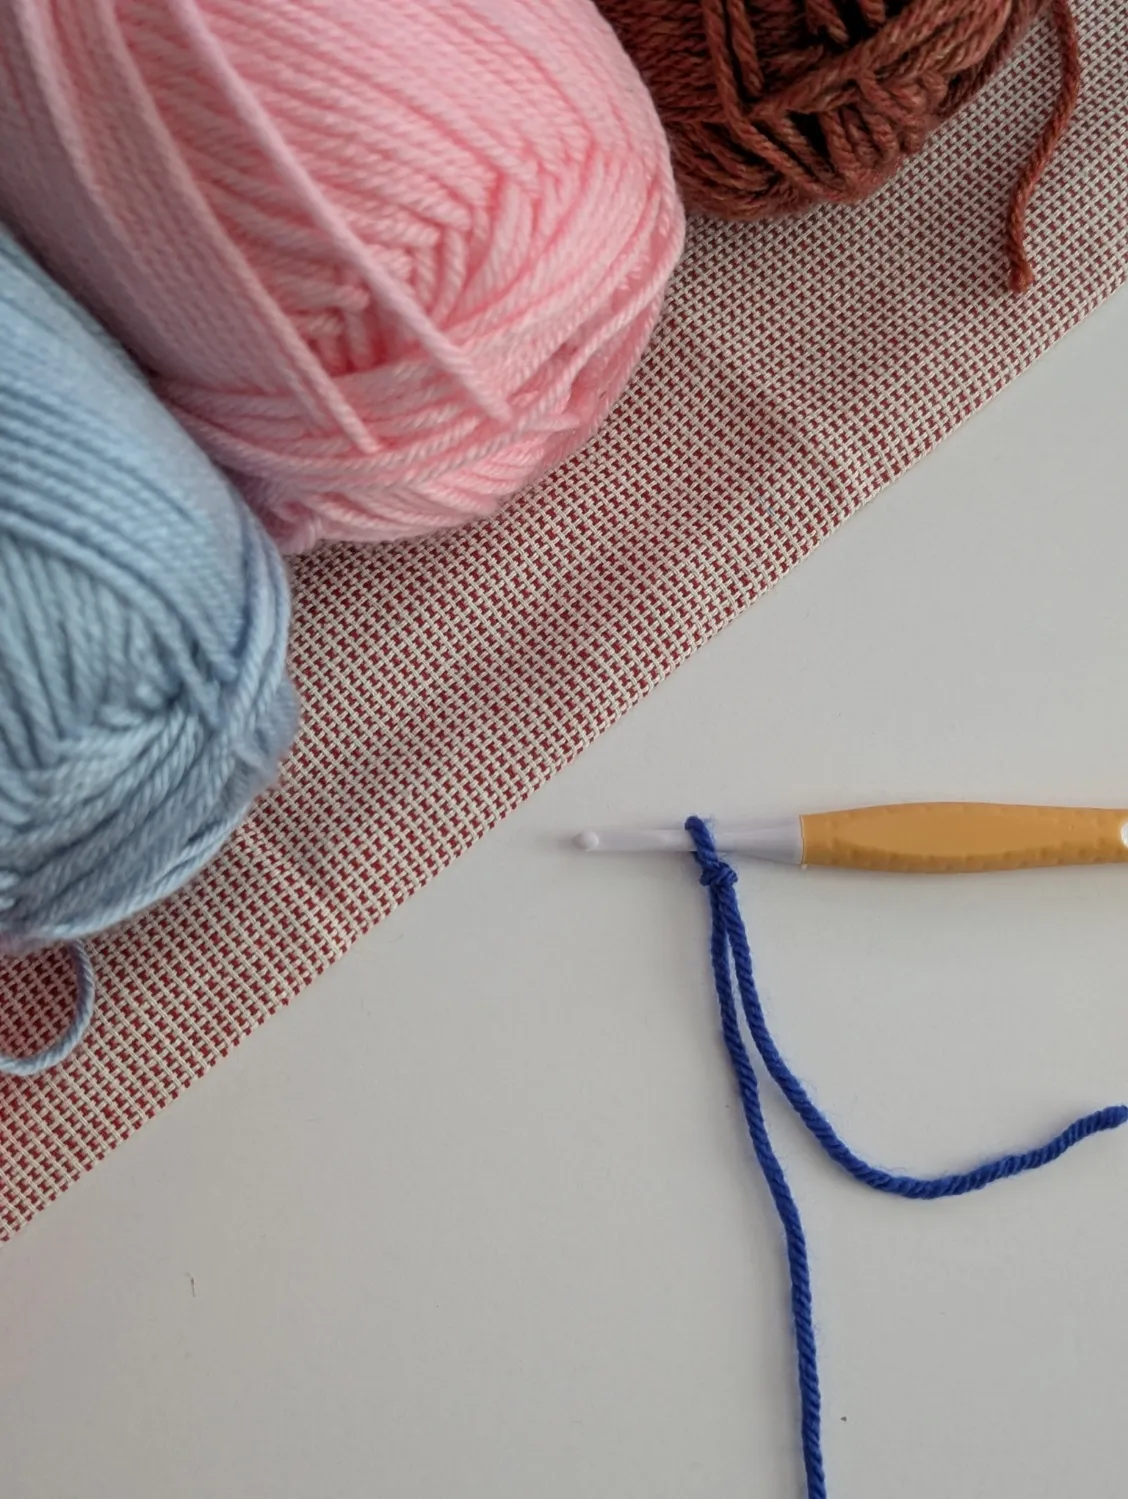
Crocheting can seem daunting to those who have never picked up a hook, but it all starts with one simple yet fundamental technique: the slip knot. This versatile knot is the cornerstone of countless crochet projects, and mastering it opens the door to a creative world of yarn artistry. In this blog post, we’ll take a closer look at the slip knot, explore its essential role in crochet, and guide you through the process step-by-step.
Understanding the Slip Knot
Before we dive into making a slip knot, let’s first understand its significance in crochet. A slip knot serves two main purposes:
- Foundation: It’s the initial loop from which all other stitches in your crochet project will stem. Without it, creating a stable base for your work would be challenging.
- Adjustability: Unlike other knots, a slip knot can be easily tightened or loosened, allowing crocheters to start their projects with the precise tension they desire.
Why is the Slip Knot Important?
The slip knot’s adjustability means you can control the size of your starting loop—a small yet significant detail that can affect the overall look and feel of your crochet piece. A tighter slip knot leads to firm stitches, while a looser one allows for more flexibility and drape. This versatility makes the slip knot an indispensable tool for any crocheter.
“Mastering the slip knot is the first step to unlocking the creative potential of crochet. Once you have this knot down pat, you’re well on your way to exploring endless possibilities.”
Crafting Your First Slip Knot
Now that we have a grasp of its importance, let’s get hands-on. Follow these simple steps to create your very first slip knot.
Step-by-Step Guide
- Begin with a Loop:
- Hold the yarn in your left hand. Create a loop by placing the working yarn over the tail end of the yarn.
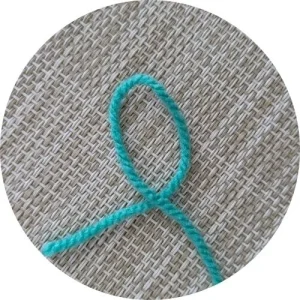
- Cross and Twist:
- Bring the working end of the yarn under the loop.
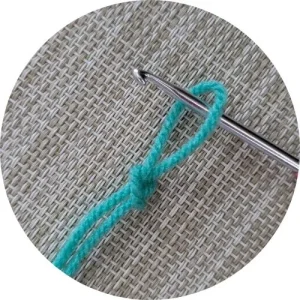
- Pull Through:
- Reach through the loop with your fingers (or your crochet hook) and grab the working yarn.
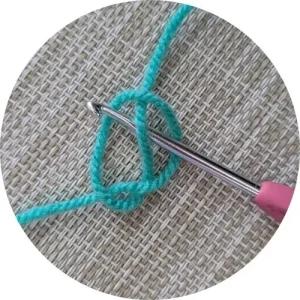
- Tighten the Knot:
- Pull the working yarn through the loop to form a new loop, then pull on both ends of the yarn (the working yarn and the tail) to tighten the slip knot.
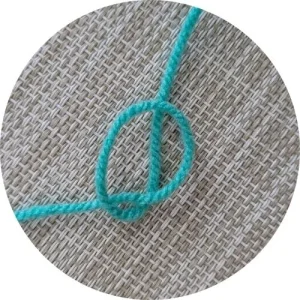
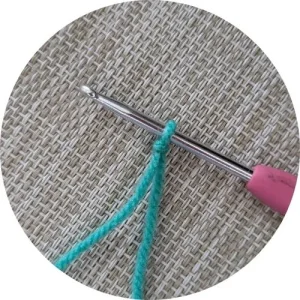
- Adjust:
- Use this slip knot as the first stitch on your crochet hook, making it snug but not overly tight.
Tips for Success
- Practice Makes Perfect: Don’t be discouraged if your first attempts are less than perfect. Consistent practice will greatly improve your skill.
- Play with Tension: Experiment with making the knot tighter or looser to see how it affects your crochet work.
Why the Slip Knot is Unique
The slip knot is not exclusive to crochet; it finds utility in other crafts and practical tasks. Whether tying shoelaces, securing camping equipment, or starting a knitting project, the slip knot’s simplicity and functionality make it a universal knot worth mastering.
Anecdote: A Lesson in Simplicity
I remember my mother teaching me the slip knot when I was just a child. Her passion for crocheting was infectious, and she often emphasized that the most beautiful crafts begin with simplicity. The slip knot was her starting point, and reminiscing about those lessons always reminds me that in art, every grand creation often begins with a humble step.
Conclusion: The Path Forward
The journey from learning the basic slip knot to creating intricate patterns is a rewarding one. By mastering this essential technique, you’ve laid the groundwork for countless hours of creativity and relaxation through crochet. As you practice and explore, remember that each project starts with a single slip knot—your first step into a world of handmade wonders.
Whether you’re making blankets, clothes, or toys, every stitch starts with a slip knot’s promise of possibility. So grab your yarn and hook, and start your crochet adventure with confidence!
“Every masterpiece begins with a first step. In crochet, that step is often a slip knot.”
Taking this single step marks the beginning of your crochet journey, filled with creativity, relaxation, and personalization. So, why wait? Start creating, and see where your creativity takes you!
Leave a Reply